Start with the light, not the filter
Put the bake near a window and turn it so the light comes from the side. Side light gives frosting, crumbs, layers, and flaky edges enough shape to read on a small screen. A window behind the bake often turns the front into a dark silhouette; a window directly above it can make the top look pale and flat.
Turn off overhead lights before you shoot. Mixed light is hard to correct because one bulb may be yellow while the window is blue. Your food can end up with strange gray shadows and a warm patch on one side.
If direct sun is harsh, move a little farther from the window or soften it with a sheet of baking paper held between the window and the setup. Keep the paper away from heat and never tape it where it could fall onto a hot surface. A piece of white foam board on the shadow side can bounce a little light back into dark frosting. Both are optional; the window matters more.
Skip flash. Phone flash makes shiny icing glare, flattens texture, and makes a home setup look like a quick document photo. If the room is too dark, move the table closer to the window or shoot at a brighter time of day.
Choose the angle by bake
There is no single best angle. Show the feature a customer needs to judge before ordering.
| Bake or use | Angle | What it shows | |
|---|---|---|---|
| Cookies, donuts, boxes, flat lays | Overhead | count, pattern, toppings, and the full arrangement | |
| Cupcakes and individual slices | About 45° | height, frosting, filling, and the front edge | |
| Layer cakes and tall stacks | Eye-level or slightly below | layers, silhouette, decoration, and scale | |
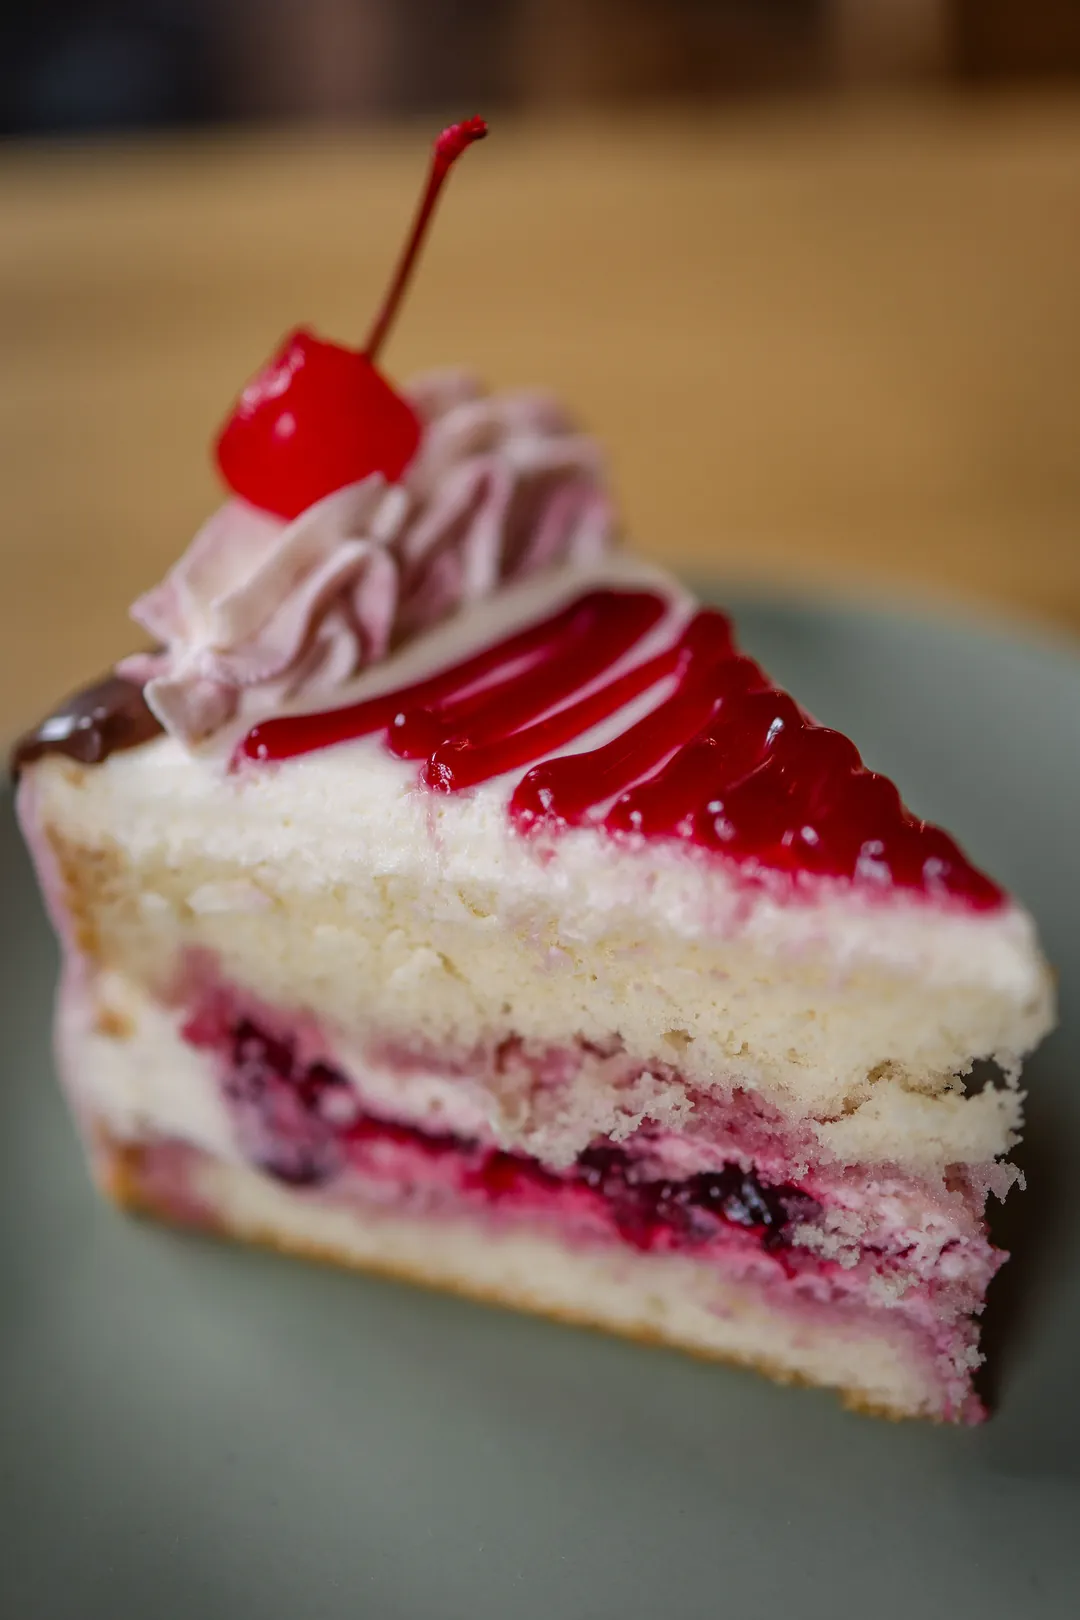
| A cake or loaf with a filling | 45° with one cut slice | the inside, moisture, crumb, and thickness | |
| A packaged order | Slightly above the box | what arrives, quantity, label, and presentation |
Take a second angle when the first one hides an important selling detail. One clean product photo is more useful than six nearly identical ones.
Build a quiet background
Start with one plain surface: a wooden board, a neutral counter, a sheet of paper, or a clean table. Keep the background quieter than the bake. A gray plate can shift how your phone and a color sampler read the food, and a busy counter makes the product compete with the toaster, bags, and appliances.
Add props only when they explain how the item is eaten. A coffee cup beside a morning pastry, a small knife near a cake slice, or a napkin under a cookie box can add context. Do not add a whole kitchen because you are worried the photo looks too simple. One surface and one or two supporting objects are enough.
Leave a little empty space if the photo may carry text. Put the bake to one side and keep the open area calm. This gives an Instagram story, launch announcement, or shop banner somewhere to breathe without covering the frosting.
- Remove crumbs, smudges, fingerprints, and stray packaging from the frame.
- Use a plain plate or board that does not compete with the bake’s main color.
- Keep the camera parallel to a cake’s front edge so lines do not lean.
- Check the four corners before each shot; clutter usually hides there.
Style the bake for the camera
Style what is actually for sale. If the box contains six cookies, show six or show one close-up and say what the box includes elsewhere. Do not create a pile that makes the quantity unclear. Odd numbers often make a small arrangement feel natural, but clarity comes first.
Crumbs can help when they look intentional: a few beside a sliced loaf or a small scatter near a cookie says “freshly served”. Wipe away greasy marks and accidental smears. For cakes, turn the cleanest decorated side toward the camera and rotate the board until the layers look even.
For a cut slice, use a sharp knife, make one purposeful cut, and show the interior without crushing it. A little filling visible between layers can answer the customer’s biggest question faster than a close-up of the top decoration.
Use the photo as a real shop starting point
The three sample photos below work because each gives the subject a clear shape, readable color, and enough background to understand the bake. They are not studio rules. They are useful references for choosing your own window, surface, and crop.
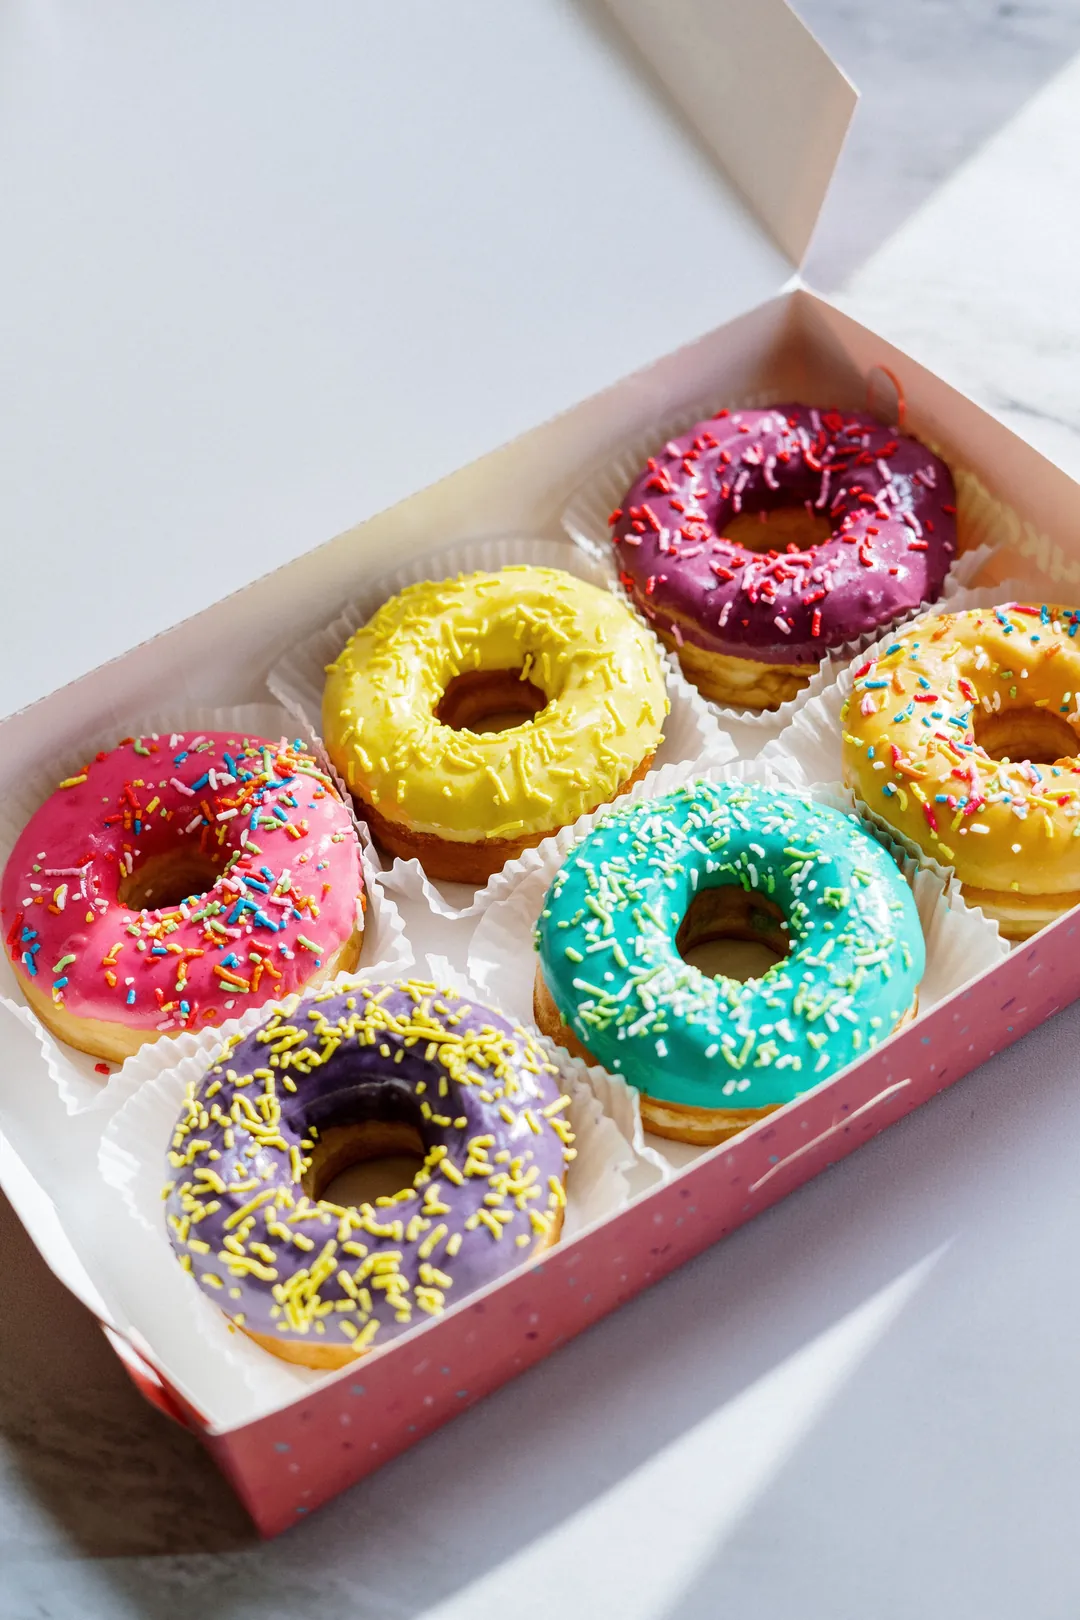
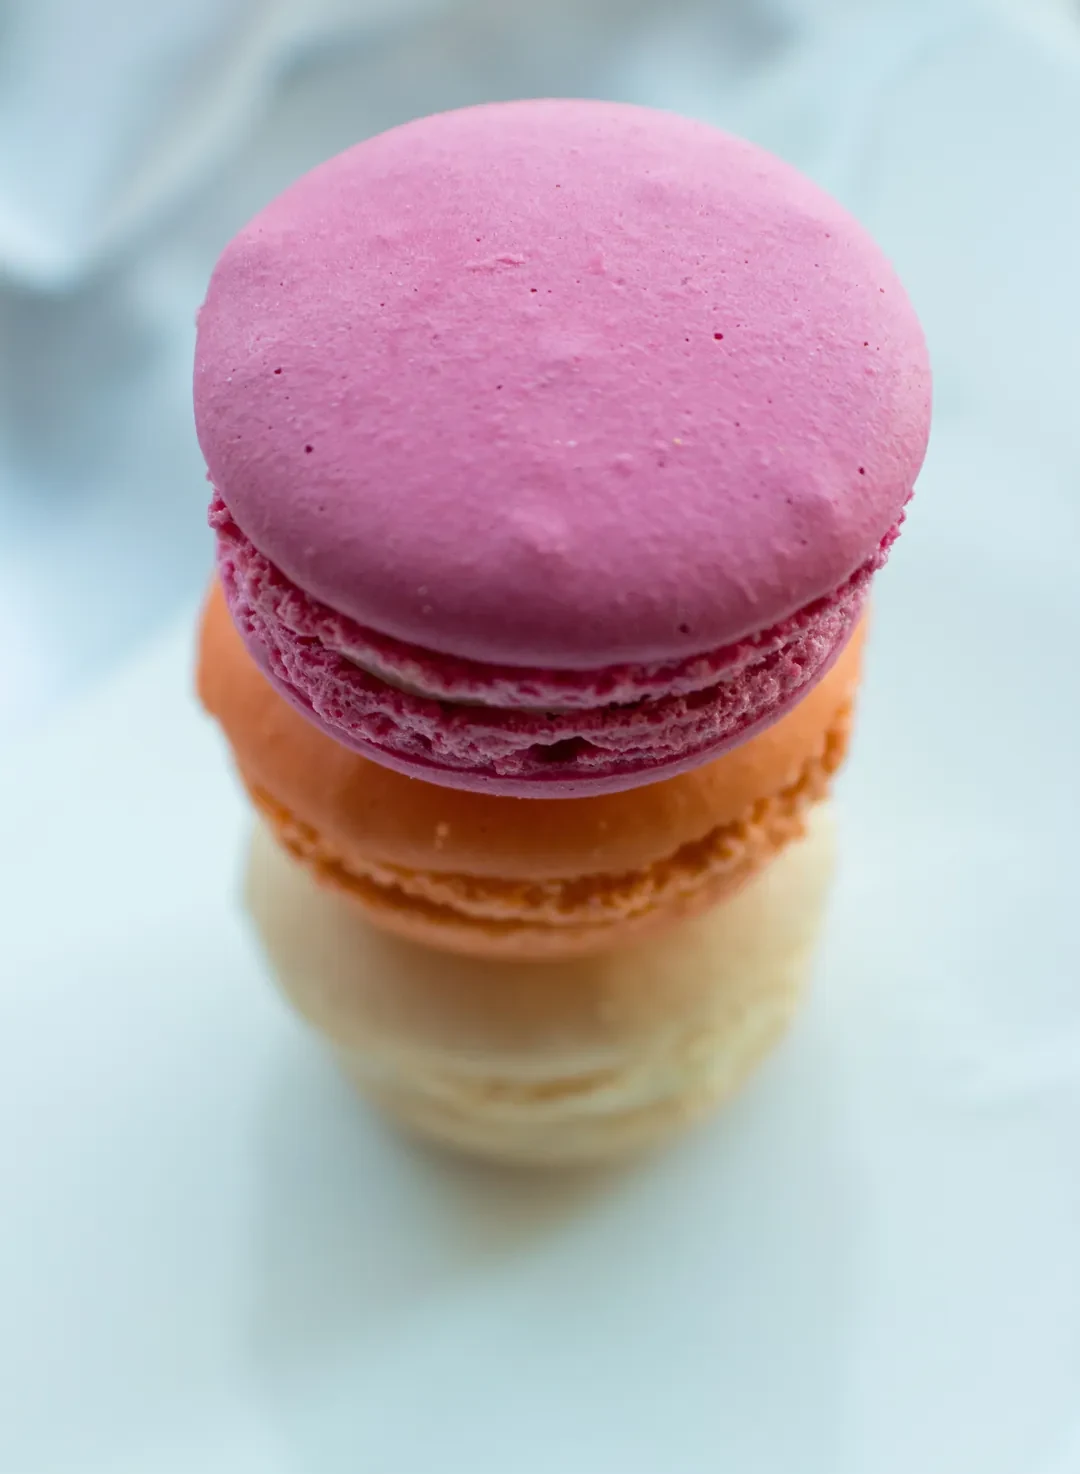
The cherry cake has a strong red focal point and a tall silhouette. The donut photo makes the box and repeated shapes easy to read. The macaron photo uses a vertical stack and a calm background to make color do the work.
Use the phone settings that actually help
Clean the lens with a soft shirt or cloth before you start. A fingerprint creates a soft haze that looks like bad light. Turn on gridlines if your phone offers them; they make it easier to keep plates level and leave space for text.
Tap the bake to focus and pull the exposure down slightly if the frosting or glaze looks blown out. Bright white icing loses its shape quickly. Take a test photo, inspect the highlights, and adjust before you style the whole table.
Avoid digital zoom. Move the phone closer, or crop later. Portrait mode can look good for a single cupcake, but check the edges around frosting, sprinkles, and box handles; artificial blur often cuts into them. Hold the phone steady and shoot more frames than you think you need. A tiny shift in focus can change which layer is sharp.
- Use the rear camera when possible; it usually gives you more detail.
- Keep the lens at the same height as the subject when you want a calm, straight-on view.
- Take a wide frame, a close detail, and one alternate angle before you pack up.
Make repeated shapes easy to read
A box photo should answer two questions at once: what is inside, and how does it arrive? Shoot slightly above the box so the quantity and packaging are both visible. Keep the lid, label, and product in the same light so the photo feels like a real order rather than a catalogue cutout.
Edit lightly and crop for the job
Straighten first, then crop. A small exposure adjustment can recover a dark side; a small warmth adjustment can remove a cold cast from a cloudy window. Stop when the food looks like it did in front of you. Over-saturated frosting and orange bread may look exciting for a second, but they create the wrong expectation at pickup.
Crop for where the image will live. Use 4:5 for an Instagram feed, 9:16 for Stories or TikTok, and square or 4:3 when a shop product card needs a compact image. Keep the product inside the safe middle area so a crop does not remove the top of a cake or the label on a box. Save the original before making several versions.
A practical shot list for your shop
You do not need a new shoot for every post. Make one useful set while the bake is fresh, then reuse the images in the places where customers make decisions.
- Cover photo: one strong frame that says what your bakery feels like.
- Product photo: one clear image for each item, with the product and quantity easy to understand.
- Inside photo: a cut slice, cross-section, or close detail that proves texture and filling.
- Packaging photo: the box, label, wrap, or presentation the customer will actually receive.
- Process photo: you mixing, shaping, decorating, or pulling the bake from the oven, if you want the shop to feel personal.
Let one photo set the shop’s visual direction
Your best photo can become more than a product card. It can help set the color and mood of your shop. In Confita’s photo-to-shop flow, Cloudflare AI samples real pixels from the uploaded bake photo, then uses those colors to suggest a palette, typeface, banner style, background pattern, shop name, tagline, and menu ideas. You choose what to apply; products, prices, and orders are not changed.
That makes the photo worth preparing carefully. A clean background and honest window light give the AI truer colors. A gray plate can pull the palette towards gray, and a yellow kitchen bulb can shift the whole look warm. The cherry cake, donut box, and macaron stack are examples of photos that work: each has a clear bake and colors the photo can actually show.
The honest shortcut
You do not need a camera kit to make a shop look considered. Give one bake good light, a quiet surface, and the angle that shows its best feature. Then keep the same light and background style across the rest of your menu.
If you want a starting point for the shop itself, upload the photo you just made to Photo to shop. The photo can become the cover, and the suggested look can be applied or undone in one tap. The useful part is that the design starts with your actual bake instead of a color guess.
- Phone-only workflow
- Real colors from the photo
- You choose what changes
Keep building your brand
The photo is one piece of a shop customers can recognize.
Frequently asked questions
What is the best way to photograph baked goods with a phone?
Use soft window side light, turn off overhead lights, choose a plain surface, and match the angle to the bake. Tap to focus, lower exposure slightly if highlights are too bright, and take more than one frame. The setup usually matters more than the phone model.
Should I use portrait mode for food photography?
You can use it for a single cupcake or slice, but inspect the edges. Portrait blur can cut into frosting, sprinkles, thin layers, or box handles. A normal photo with enough light is often safer for a product image.
How do I photograph baked goods for Instagram and my shop?
Shoot a wide frame, a close detail, and an alternate angle while the bake is fresh. Keep the light and surface consistent. Crop a copy to 4:5 for the Instagram feed, 9:16 for Stories or TikTok, and square or 4:3 for a shop product card.
Can a bake photo help design my Confita shop?
Yes. Confita’s photo-to-shop feature samples the real colors in one uploaded bake photo and suggests a shop look, name, tagline, and menu ideas. You decide what to apply, and the photo is only stored if you use it as the cover. Products, prices, and orders are not changed.
What cheap items help with phone food photography?
You can work with what you have. A white foam board can bounce window light, and a sheet of baking paper can soften harsh sun when used safely away from heat. Neither is required, and you do not need a gear shopping list to start.